Tech used
How to enable SSL/TLS for your local lab and apps, including Pi-Hole and JupyterLab, using a custom domain
Updated 2024-04-25Photo by Markus Winkler on Unsplash
This guide walks you through setting up SSL/TLS for your home lab and apps, specifically focusing on securing the web interface of Pi-Hole (a well-known ad-blocking app) and JupyterLab (a well-known Python development app). Of course, the steps taken here should help you figure out how to secure other local apps as well -- the skills are universal.
This guide assumes you have a domain registered with Cloudflare. It also asumes that you have fully functional Pi-Hole and JupyterLab instances in an Ubuntu server. However, the instructions may be applicable or modified accordingly for other OS. On the other hand, you do not need to know about acme.sh which we'll use to generate the certs. If you do not know where to start on Pi-Hole and JupyterLab, these links should help you get started:
Table of Contents
- Intro. Also, why do this?
acme.shSetupacme.shcommandpost-hookfile- Notes about the
pre-hookfile - Cloudflare Zone ID and API Token
- Run the
acme.shcommand - Pi-Hole Setup
- JupyterLab Setup
- Musings
Intro. Also, why do this?
This guide makes little sense for some. The two apps I list in this guide, after all, are usually internal apps (inside of your firewall) and, as such, an SSL/TLS certificate should not be needed. This was true in the past, back in the days when browsers were not defaulting to secure connections and displaying warnings about visiting sites without them. However, browsers now display those warnings by default which are annoying but do protect our valudable and sensitive information from prying eyes.
Of course, you still can just click through the prompts to visit your site and forget about it. But, why not do things properly? If you're here, you are likely already on board and, to that end, let's spend the 10 minutes this guide takes to implement. If not, let's spend 10 minutes anyways getting you setup.
acme.sh Setup
acme.sh command
As the first step, let's work on the certificates first. We'll be using acme.sh to create them but you could also use certbot (though we don't cover that here). Go ahead and download acme.sh according to their instructions on their official GitHub repo. It is good practice to avoid piping scripts into bash (though, convenient it is). Use whichever method you prefer. We'll run all the commands as root since it's recommended by the software itself. You may look for better ways to do this once you've gotten the process down.
Note that the software, unlike other, does not need a manual config file. It also does not need to be manually configured to renew certs when the time is right. By running the commands below, the creation of the certs, adding them to the local acme.sh db, and renewing when necessary will be taken care of automatically. It even includes a cool feature to run custom scripts before and after the creation or refreshing of certs! This was not plainly obvious in their documentation and it is worth spelling out for novices like me.
With this in mind, let's break down the command we'll be issuing once acme.sh is installed. NOTE: DON'T RUN THIS COMMAND YET!
acme.sh --issue --dns dns_cf -d mycustomdomain.local -d '*.mycustomdomain.local' --server letsencrypt --pre-hook /usr/local/bin/acme-pre.sh --post-hook /usr/local/bin/acme-post.sh
Parameter Description --dns -d mycustomdomain.local in our case, and one for type of certificate we want, '*.mycustomdomain.local' in our case. You can certainly specify a single subdomain here instead of a wildcard one if that suits your needs. You can also add as many other subdomains as you want by adding more -d arguments to the command you issue, each with its own subdomain. To that end, the certificate created can be used for any of the subdomains you add. --server --pre-hook --post-hook
Of course, you may not need pre-hook or post-hook scripts for other tech stacks -- you can certainly adapt that command to suit your needs. However, in this case, we will need at least the post-hook script to compile the combined keys file Pi-Hole needs, move it into place, and restart lighttpd so it can pick up the newly created file. The pre-hook and post-hook files must exist but don't need to have anything in them at the time the command is run and, as such, you can fill them later. Failure to create the files results in having to start again from scratch for this domain. Don't forget to create them!
post-hook file
Let's create the file we're going to be using for the post-hook.
First, let's move to sudo using the following command:
sudo su
Then, let's create the file:
nano /usr/local/bin/acme-post.sh
The contents of the file, with replacements for your own domain, are as follows:
#!/bin/bash

# Combine cert and key for lighttpd
cat /root/.acme.sh/mycustomdomain.local_ecc/mycustomdomain.local.key /root/.acme.sh/mycustomdomain.local_ecc/mycustomdomain.local.cer > /root/.acme.sh/mycustomdomain.local_ecc/combined.pem

# Make backup of old key
mv /etc/lighttpd/combined.pem /etc/lighttpd/combined.pem.old

# Move new key into place
mv /root/.acme.sh/mycustomdomain.local_ecc/combined.pem /etc/lighttpd/combined.pem

# Restart lighttpd
service lighttpd restart
Finally, let's make sure that the file has execution permissions:
chmod +x /usr/local/bin/acme-post.sh
Notes about the pre-hook file
The instructions above for the post-hook file can be used to create a pre-hook file all the same. I will not include a template for such a file here since there's no use for it in this guide. However, and this is very important, the file should be created prior to running the acme.sh command. Failure to do so will result in you having to start over again or figure out how to add it to the config file manually (which is not easy).Cloudflare Zone ID and API Token
Now that we have everything lined up, the command has been crafted, the files have been created and/or populated, we are almost ready to run the command.
The last piece of preparation we need is to get two pieces of data from Cloudflare: the Zone ID and the API Token. To fetch those, log into your Cloudflare dashboard. For the Zone ID, it can be found in the domain overview page, right hand side, near the bottom of the page:

Note that there's a handy link to get an API token right there. Click it and then hit the Create Token button:

When creating the token, make sure you select the appropriate zone and permissions needed. You'll need read and write permissions. To this end, be sure to keep this token safe as it can seriously mess up your domain.
Once you've gotten your API Token and your Zone ID, issue the following commands in your terminal to load the values as environment variables:
export CF_Token="[your_token_goes_here]"
export CF_Zone_ID="[your_zone_id_goes_here]"
Run the acme.sh command
We are now ready to run the command. However, if you are unsure as to what we've done so far, here's a quick refresher:
# Move to root
sudo su

# Create the post-hook script and populate with template above
nano /usr/local/bin/acme-post.sh

# Modify file properties to enable execution
chmod +x /usr/local/bin/acme-post.sh

# Export Cloudflare's API Token and Zone ID as environment variables
export CF_Token="[your_token_goes_here]"
export CF_Zone_ID="[your_zone_id_goes_here]"
To those commands, we'll add the following one that actually fetches the certificates and keys. Replace your domain accordingly:
acme.sh --issue --dns dns_cf -d mycustomdomain.local -d '*.mycustomdomain.local' --server letsencrypt --post-hook /usr/local/bin/acme-post.sh
If all went well, the output would look something like this:
[Tue Apr 23 11:35:25 EDT 2024] Using CA: https://acme-v02.api.letsencrypt.org/directory
[Tue Apr 23 11:35:25 EDT 2024] Creating domain key
[Tue Apr 23 11:35:25 EDT 2024] The domain key is here: /root/.acme.sh/mycustomdomain.local_ecc/mycustomdomain.local.key
[Tue Apr 23 11:35:25 EDT 2024] Multi domain='DNS:mycustomdomain.local,DNS:*.mycustomdomain.local'
[Tue Apr 23 11:35:27 EDT 2024] Getting webroot for domain='mycustomdomain.local'
[Tue Apr 23 11:35:27 EDT 2024] Getting webroot for domain='*.mycustomdomain.local'
[Tue Apr 23 11:35:28 EDT 2024] mycustomdomain.local is already verified, skip dns-01.
[Tue Apr 23 11:35:28 EDT 2024] *.mycustomdomain.local is already verified, skip dns-01.
[Tue Apr 23 11:35:28 EDT 2024] Verify finished, start to sign.
[Tue Apr 23 11:35:28 EDT 2024] Lets finalize the order.
[Tue Apr 23 11:35:28 EDT 2024] Le_OrderFinalize='https://acme-v02.api.letsencrypt.org/acme/finalize/[number_goes_here]/[number_goes_here]'
[Tue Apr 23 11:35:29 EDT 2024] Downloading cert.
[Tue Apr 23 11:35:29 EDT 2024] Le_LinkCert='https://acme-v02.api.letsencrypt.org/acme/cert/[long_number_goes_here]'
[Tue Apr 23 11:35:29 EDT 2024] Cert success.
-----BEGIN CERTIFICATE-----
# Certificate in plaintext goes here
-----END CERTIFICATE-----
[Tue Apr 23 11:35:29 EDT 2024] Your cert is in: /root/.acme.sh/mycustomdomain.local_ecc/mycustomdomain.local.cer
[Tue Apr 23 11:35:29 EDT 2024] Your cert key is in: /root/.acme.sh/mycustomdomain.local_ecc/mycustomdomain.local.key
[Tue Apr 23 11:35:29 EDT 2024] The intermediate CA cert is in: /root/.acme.sh/mycustomdomain.local_ecc/ca.cer
[Tue Apr 23 11:35:29 EDT 2024] And the full chain certs is there: /root/.acme.sh/mycustomdomain.local_ecc/fullchain.cer
There's a possibility the output includes an error that reads /etc/lighttpd/combined.pem: path or file does not exist. This is expected, as the first time the script runs the file does not exist. Afterwards, though, the file does and the error is not going to be around anymore.
Also, since my local acme.sh had already the domain I used to capture outputs for this guide, there's some steps in the output that are missing. If the domain needs to be verified for the first time, validation entries in Cloudflare will appear in the output. You'll also see timers in place to wait for changes to propagate prior to attempting the validation. All of this is normal.
Pi-Hole Setup
Now that we have certs, let's setup Pi-Hole's web UI to use the cert we've created. You may notice that part of the post-hook file was to combine the key and cer files into a single one. This was done because lighttpd requires such a file in order to work correctly and it is not provided by acme.sh by default. You may also notice we placed the combined file in lighttpd's folder under /etc. You don't need to put it there but it helps since lighttpd is already the owner of that folder and you don't have to work too hard to make sure the permissions are correct.
Update your local or Cloudflare DNS settings
Since we're going to use an SSL/TLS connection to serve PI-Hole's UI, we need to make sure that your DNS settings are updated accordingly. The certificate we've created needs the domain in the URL to match its contents. This means we can't hit the IP address of the box running Pi-Hole directly and get served over SSL/TLS.
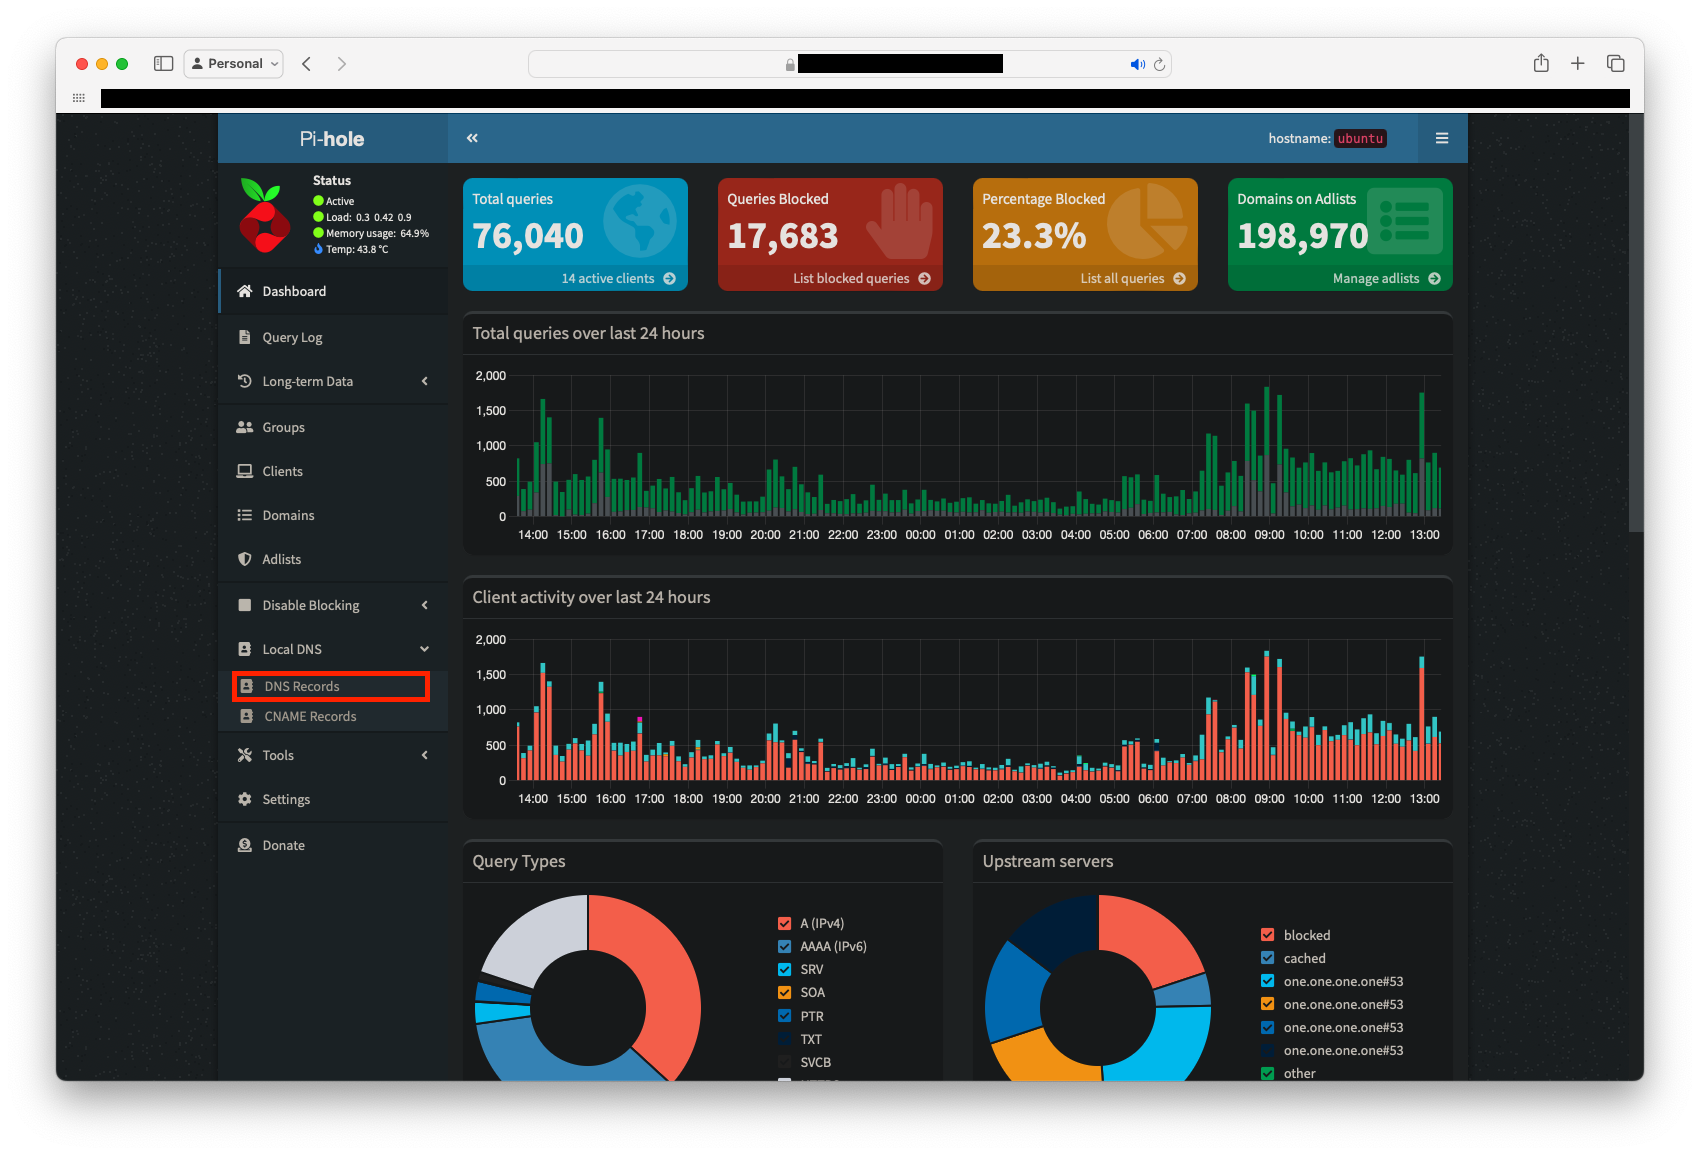
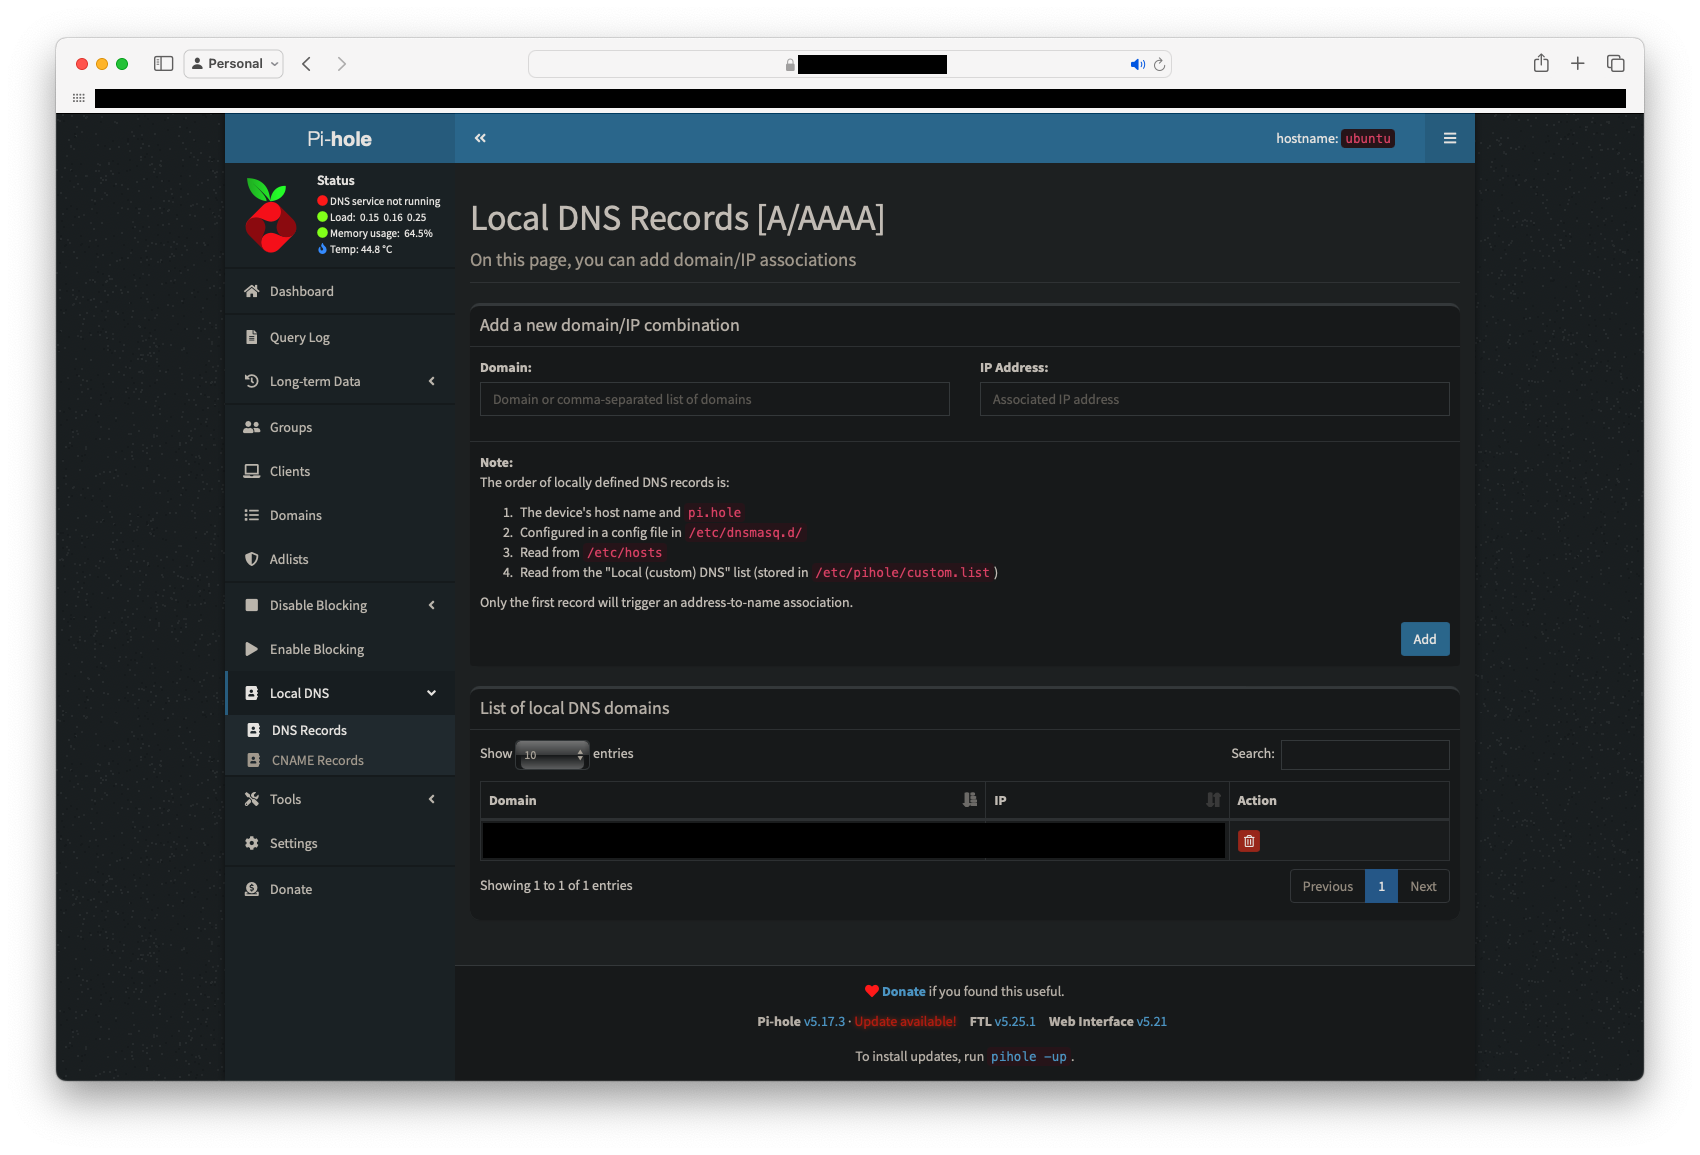
Pi-Hole allows you to create your own local DNS entries and that can be one way to ensure the domain matches. Just navigate to the Local DNS tab on the right hand, and then click on DNS Entries. Add and entry for the IPv4 address and one for the IPv6 address (if applicable) of the box that's running Pi-Hole:
If you have not done so, this would be a good time to set a static IPv4 address for your Pi-hole box -- that is, if it's hosted locally, inside your network and not somewhere like AWS. If you're running IPv6 in your home network, it's best to use ddclient or any other to Dynamic DNS software to update the DNS settings of your domain at your registrar. Since IPv6 addresses are global in nature, you don't have to worry about setting a static IPv6 locally. This is ideal for ISPs that like to switch IPv6 prefixes to avoid giving people static prefixes (for which they charge money). Plus, you can still set the static IPv4 there -- even if it's in the reserved blocks of addresses like 10.0.0.0/8 or 192.168.0.0/8.
Installing a new lighttpd version
As of 2024-04-15, the default Pi-Hole installation does not install a version of lighttpd that includes the mod_openssl module it needs to serve the site using SSL/TLS certificates. To this end, we'll start by installing backing up Pi-Hole's lighttpd.conf and then install a new version of lighttpd:
# You may need to run all of this as root to avoid permissions issues

# Backup the existing lighttpd.conf file to avoid losing Pi-Hole's configs
cp /etc/lighttpd/lightpd.conf /etc/lighttpd/lightpd.conf.og

# Install new version of lighttpd that includes the openSSL module
apt install lighttpd-mod-openssl

# Stop service to replace config files
service lighttpd stop

# Replace OG lighttpd.conf since it was likely replaced by the install
mv /etc/lighttpd/lightpd.conf /etc/lighttpd/lightpd.conf.new
mv /etc/lighttpd/lightpd.conf.og /etc/lighttpd/lightpd.conf

# Start service
service lighttpd start
Once the package is installed and you have verified the service is up and running without issues, we'll need to create the following file (if it doesn't exist already) to ensure that lighttpd serves the UI without issues: /etc/lighttpd/external.conf. Use the following template to fill that new file in:
#Loading openssl
server.modules += ( "mod_openssl" )

# Enable ipv6 -- Optional. Requires IPv6 config in network.
#server.use-ipv6 = "enable"

# Ensure the Pi-hole Block Page knows that this is not a blocked domain
setenv.add-environment = ("fqdn" => "true")

# Enable the SSL engine with a cert for IPv4, only for this specific host
$SERVER["socket"] == ":8443" { # Update your port accordingly.
  ssl.engine = "enable"
  ssl.pemfile = "/etc/lighttpd/combined.pem"
}

# Enable the SSL engine with a cert for IPv6, only for this specific host  -- Optional. Requires IPv6 config in network.
$SERVER["socket"] == "[::]:8443" { # Update your port accordingly.
        ssl.engine = "enable"
        ssl.pemfile = "/etc/lighttpd/combined.pem"
}

# Redirect HTTP to HTTPS
$HTTP["scheme"] == "http" {
  $HTTP["host"] =~ ".*" {
    url.redirect = (".*" => "https://%0$0")
  }
}
Once the file is populated, go ahead and restart lighttpd. If all went well, the service should come up without errors and you should be able to hit Pi-Hole's UI while it being served with an SSL/TLS connection.
JupyterLab Setup
If you've made it this far, we don't have much left. Setting up JupyterLab is not different from what we've accomplished so far. We'll reuse as many things as possible.
To start, we'll need to update the post-hook file for acme.sh (if JupyterLab runs on the same box as Pi-Hole) or create a new one (if they are different boxes). By now, though, you've become a professional and this new challenge does not phase you -- you've got this with unerring confidence (but not cockiness).
Side Note: If you have no clue what we're talking about here, go to the acme.sh Setup section to get started. I've included a tab in that section with the contents for the post-hook file that contains the info for JupyterLab for ease of reference.
In any case, whether you have a post-hook file or you need to create one, the code needed for JupyterLab is as follows:
#!/bin/bash

# Move new key into place
cp /root/.acme.sh/mycustomdomain.local_ecc/fullchain.cer /home/[your_username]/.jupyter/ssl/fullchain.cer

# Move new key into place
cp /root/.acme.sh/mycustomdomain.local_ecc/mycustomdomain.local.key /home/[your_username]/.jupyter/ssl/mycustomdomain.local.key

# Update file permissions
chmod 777 /home/[your_username]/.jupyter/ssl/fullchain.cer /home/[your_username]/.jupyter/ssl/mycustomdomain.local.key

# Restart jupyter
service jupyterlab restart
Once you've dealt with the acme.sh setup to get the certificates and move them to their appropriate places, we just need to make a couple of updates to the jupyter_lab_config.py file to tie everything up.
Of course, and this is also important, the same that applies to Pi-Hole's UI applies here: this is a good time to set a static IPv4 address for your JupyterLab box and, in you have IPv6 in your network, use a Dynamic DNS like ddclient to keep track of that address within your domain. Go to Update your local or Cloudflare DNS settings for more details about how to achieve this.
The updates to the jupyter_lab_config.py as as follows:
[...]

## The full path to an SSL/TLS certificate file.
c.ServerApp.certfile = '/home/[your_username]/.jupyter/ssl/fullchain.cer'

[...]

## The full path to a private key file for usage with SSL/TLS.
c.ServerApp.keyfile = '/home/[your_username]/.jupyter/ssl/mycustomdomain.local.key'

[...]

## The IP address the Jupyter server will listen on.
c.ServerApp.ip = '*'

[...]
The order in which these settings are in here may not be the same as in the actual config file. Be sure to search for those lines and update them as needed. Please note each setting starts at the beginning of the line as there's no indentation needed.
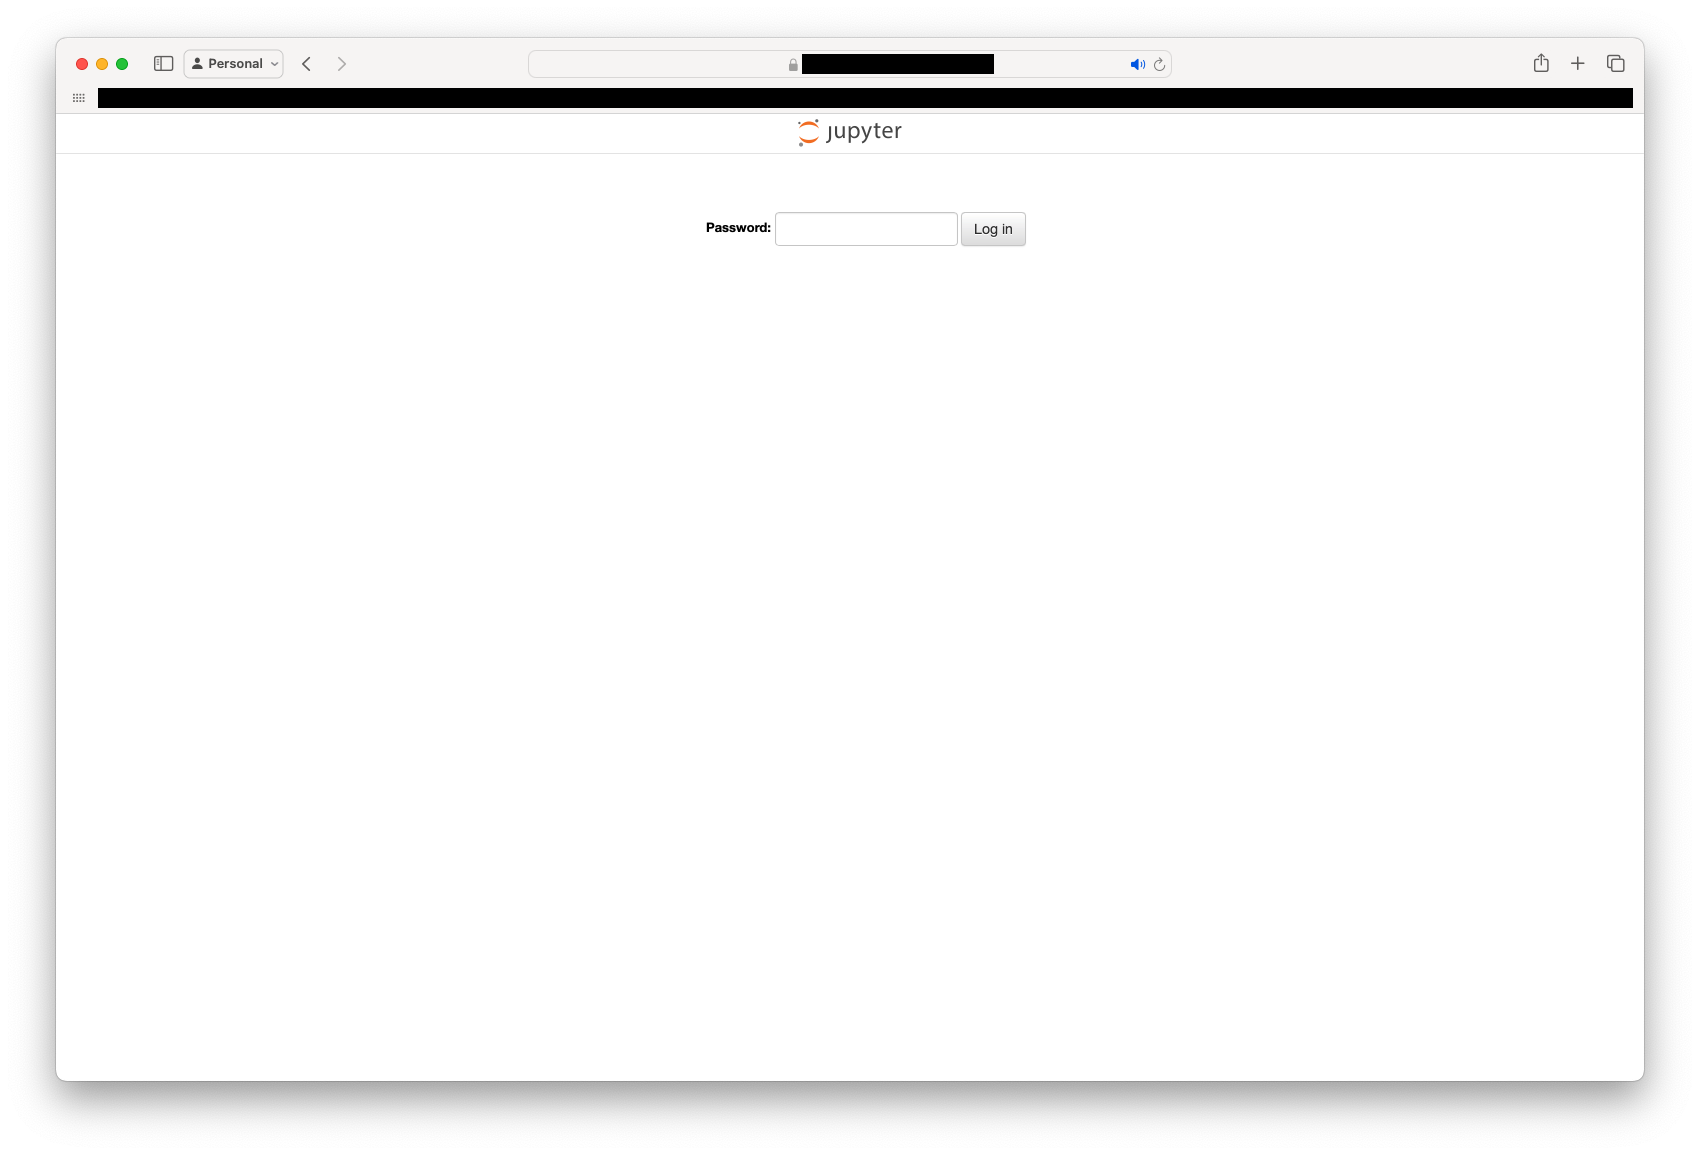
Once you're done making the updates to your local/Cloudflare DNS, acme.sh, and the jupyter_lab_config.py file, simply restart JupyterLab to get going. If all went well, you should be able to hit the UI without issues while being served through an SSL/TLS connection:
Musings
- I went down this rabbit hole due to a great article in Ars Technica titled Banish OEM self-signed certs forever and roll your own private LetsEncrypt. The guide was a great way to get a handle of things and understand some of this technology -- specifically acme.sh -- in a safe, non-critical way. That guide uses a self-hosted Certificate Authority (CA) to issue certificates and keys. Setting up the CA and getting it to issue certs worked beautifully but I hit a wall when getting devices on the network to accept those certificates. I was not brave enough to figure out how to deploy Identity Management for macOS and iOS devices so they would trust those certificates. It got even more complicated when some devices only access the network occasionally and managing those was more complexity than I wanted. To this end, I preferred using Let's Encrypt as those certs are already part of the trust chain in most devices.
- I struggled a lot with Pi-Hole's lighttpd installation. As I mentioned in the guide, the default installation of the package provided by Pi-Hole does not include the mod-openssl module that's needed to serve the UI using SSL/TLS. There's a wiki in their website that all but fails to mention that this is not included by default -- or maybe it was back then. Looking around the web also resulted in "it should be there already" but it is clearly not the case. I wanted to build on that guide to make sure I included information for IPv6, as it's more and more common, and some sure fire instructions to get the desired results.
- When installing the new version of lighttpd and creating or filling in the
external.conffile, there's an opportunity to run Pi-Hole's UI on which ever port you desire. This is specially useful if port443is already taken by another process. As I mention in the comments of that file, you can update that to whatever port you want to use, including443. - I admit that the instructions to setup JupyterLab include a
chmodcommand that opens wide the access of the certificate key. I did not try too hard to figure out exactly what the minimum access is needed by JupyterHub is which is poor practice. If you figure this out, reach out and I'll update the guide with the better access.